A while back, 2009 to be exact, I had this great plan to do a self-portrait every week. And while I was doing that portrait, I would document it for the purposes of producing a book. Although I did not finish the project, I still produced some fun images and want to go back and share the behind the scenes and the final outcome.
This was at the start of the project and I wanted something relatively easy to do. Kinda, sticking my feet in the shallow end if you will.
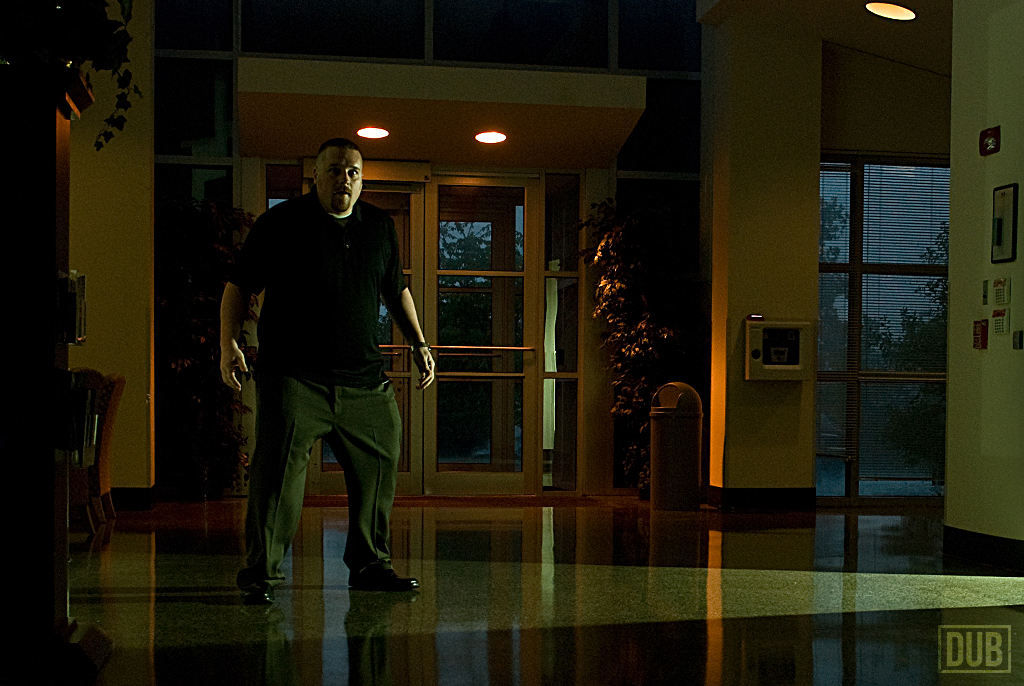
I took this at the Henry County administration building a little after closing. I remember it was raining outside which worked in my favor as it helped the atmosphere of the image.

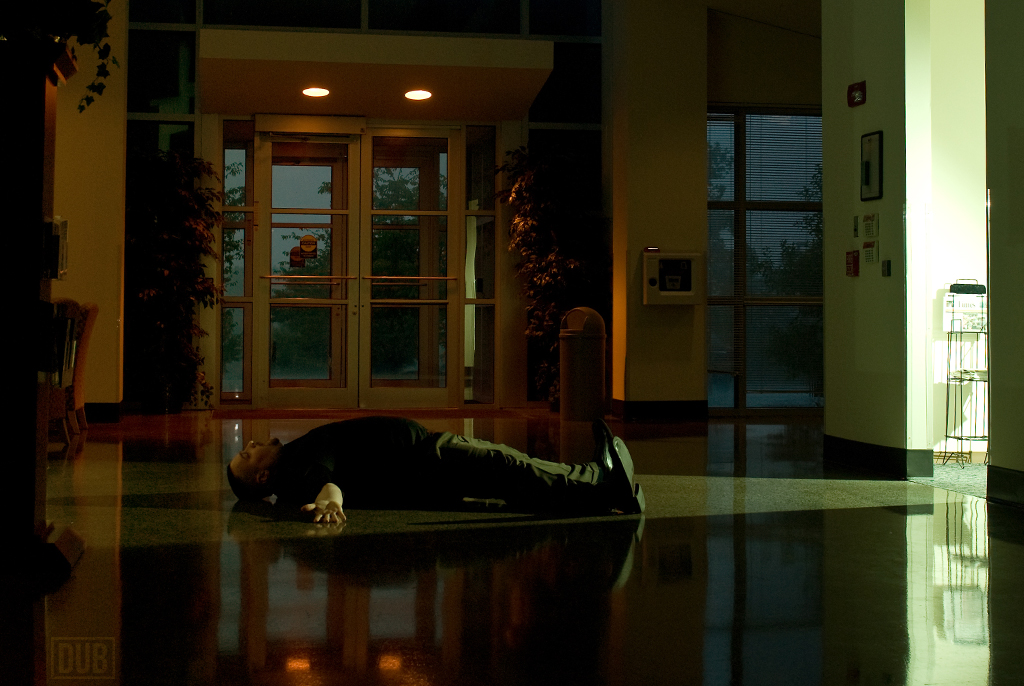
I had the camera on a tripod and timer set far down the hall (I was shooting with a 24-70mm f/2.8). I had a single SB-800 with green gel, shot bare, in the small room to the right. With the light in the room and the main lights inside the building off, it produced a pretty cool effect. The light coming from the room seemed powerful so instead of turning it down, I changed up the overall idea of the image.
Sometimes that happens and it is cool when it does. You get working along a certain train of thought and then you see something in the back of the camera that makes you shift gears and head into another direction all together.

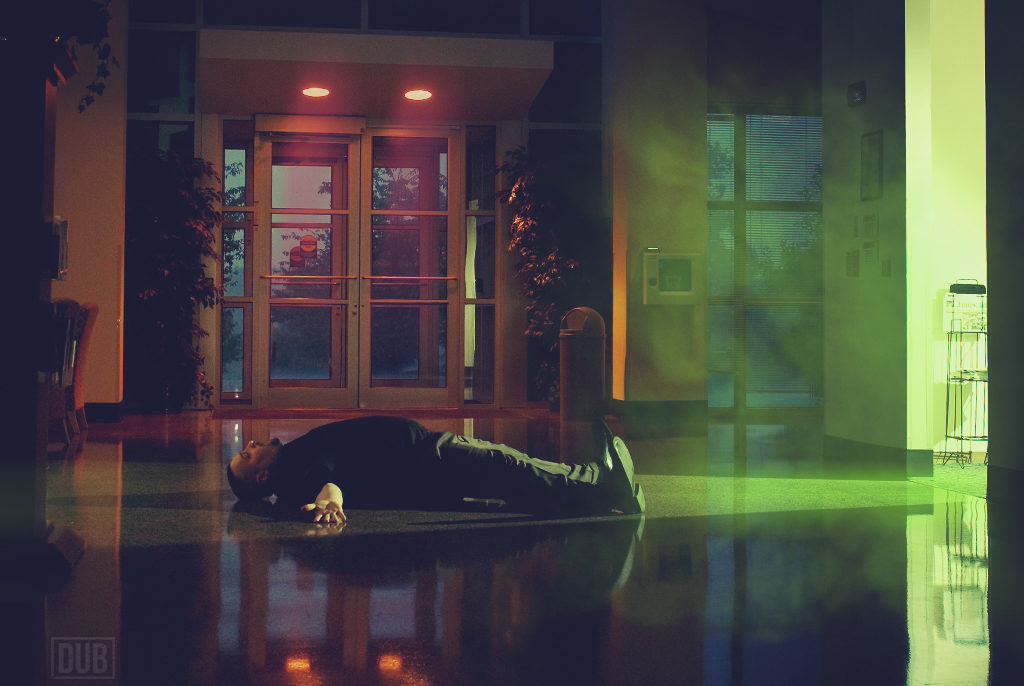
So yea, I laid down on the ground in the middle of the main entrance of the administration building. But it was what had to be done!
With the base image done, I could have easily stopped there. But the atmosphere called for something more than that and I was digging the green light coming out of the room.
I brought the image into Photoshop and the first step was to enhance the green light, to make it brighter and more pronounced. That ultimately led to the desire to add some smoke. The green light was simple, just some bright green in a new layer, smoothed out with motion blur. The smoke was added via custom brushes. I also called some more attention to the 2 lights above the door, using more of a purple/pink highlight.
I added a subtle vignette to the image, but not with solid black. One way I like doing this is duplicating the base layer and then setting the new layer’s blending mode to “Multiply”. I then mask out what I want to show through. This seems more natural to me than adding a solid black vignette. It also made the edges of the image darker and draws the eye into the center, especially with the bright green light.
Finally, I topped off the image with a Photoshop action to alter the colors just a tad bit more. For this one, I used the “Cross Processing” action from Photography Planet.


One thought on “I Have Seen the Light: Behind the scenes look”