
Here is another image I created back in 2009 as a part of my “Project 52” that never made it off the ground. I have been having fun going back and revisiting these images and writing about how I created them.
To create this image, I knew going in that the bulk of my time would be done within Photoshop. I just needed a photo of my wife and I against the same background to use.
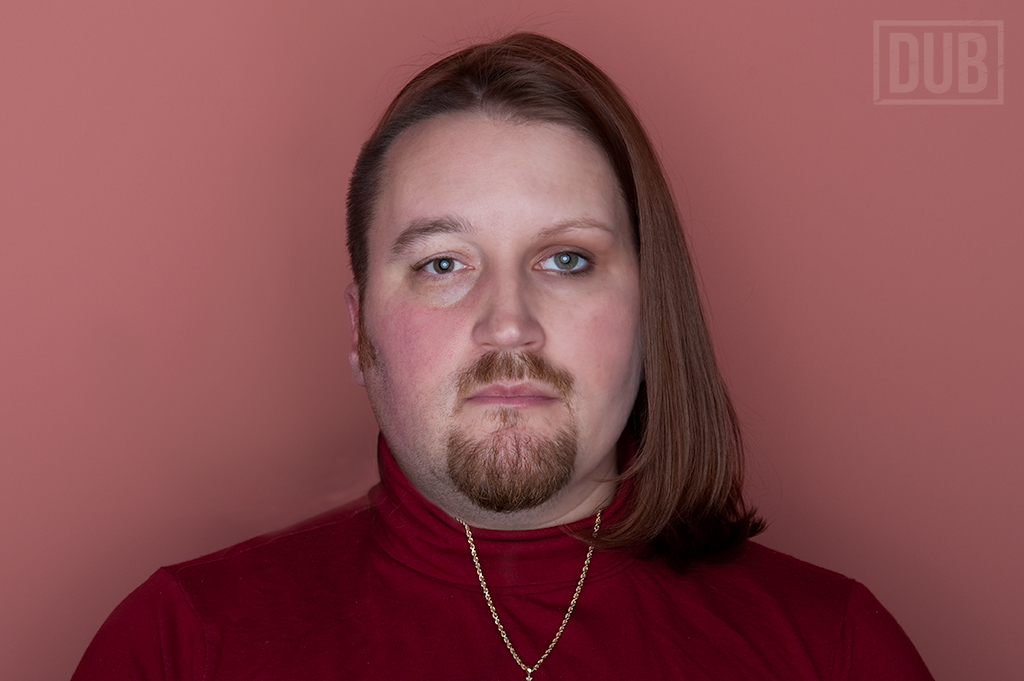
These portraits were taken in our dining room with an ABR800. I also wanted as plain of an expression as possible. Easy for me to do, and eerily too natural. But I digress.

Much of the work was merging our faces together. I wanted there to be some imbalance as well, such as using my chin and facial hair, her nose and mouth, etc. That part was not extremely difficult to pull off. I am not sure what version of Photoshop I was using at the time, but they have improved their editing tools. Looking at the layers in the file, I see some of the work that I did and how it would have been a lot easier to do that today.
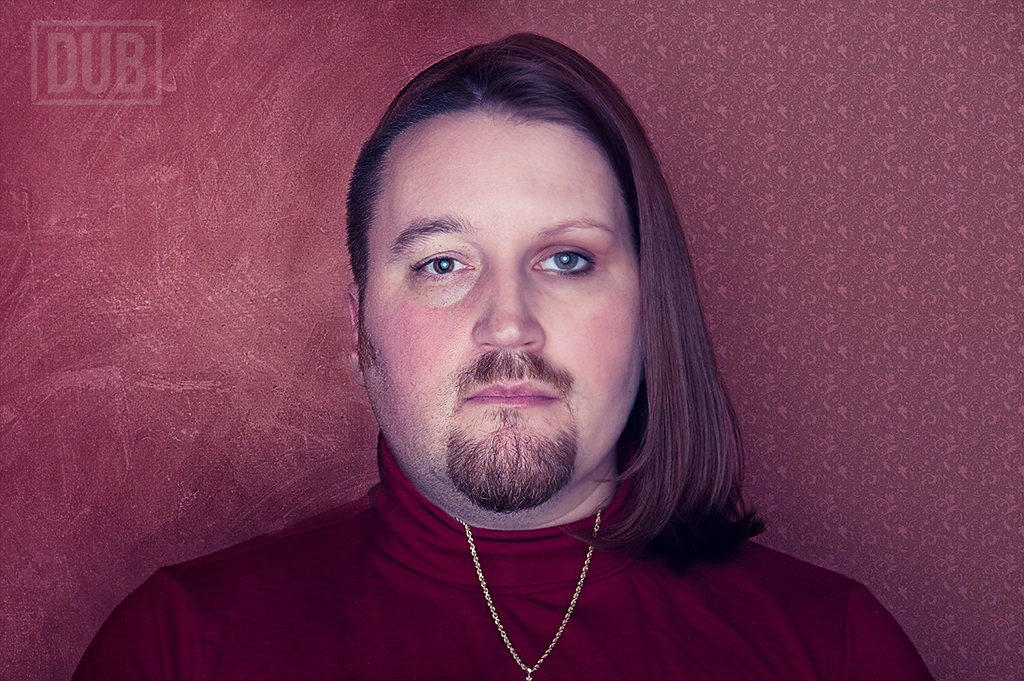
This wasn’t too bad, however, it still needed a little more attention. As if it wasn’t obvious enough, I wanted to emphasize each side as being different. For my side, I added some more textures behind me and brought out some details to make some of the lines in my face stand out more. For her side, I softened the skin a notch and added a smoother background behind her.
At the time, I was really hung up on Color Efex Pro and used their Cross Processing filter. Once that was in place, I added the two different backgrounds and called it a day.
I think my wife was expecting something a lot different than she saw.
“Does it look like Lauren?” (Lauren is our oldest daughter)
“Well, not quite.”