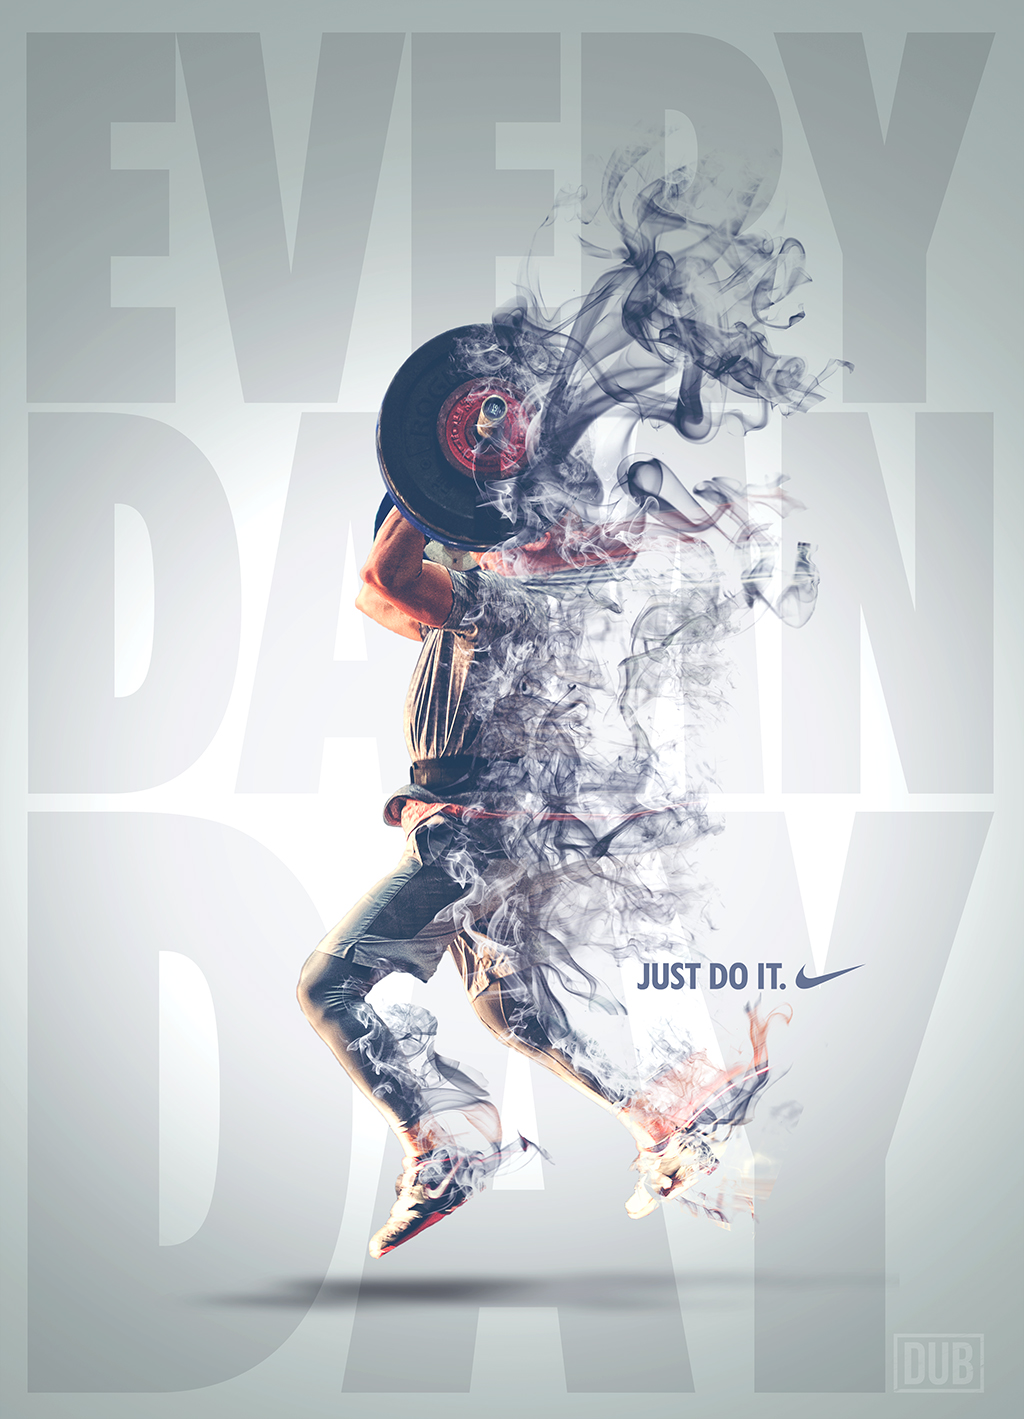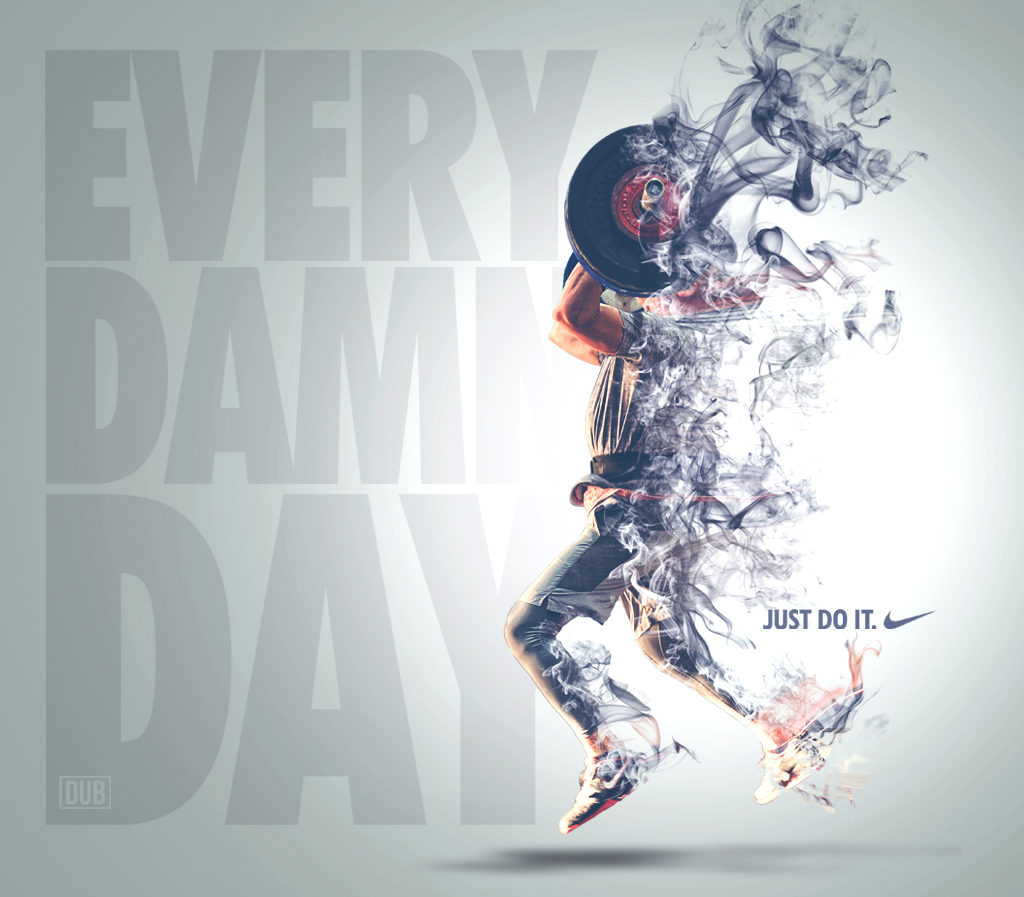
As with my first faux Nike ad, this one involved a similar process and something I wanted to try my hand at.
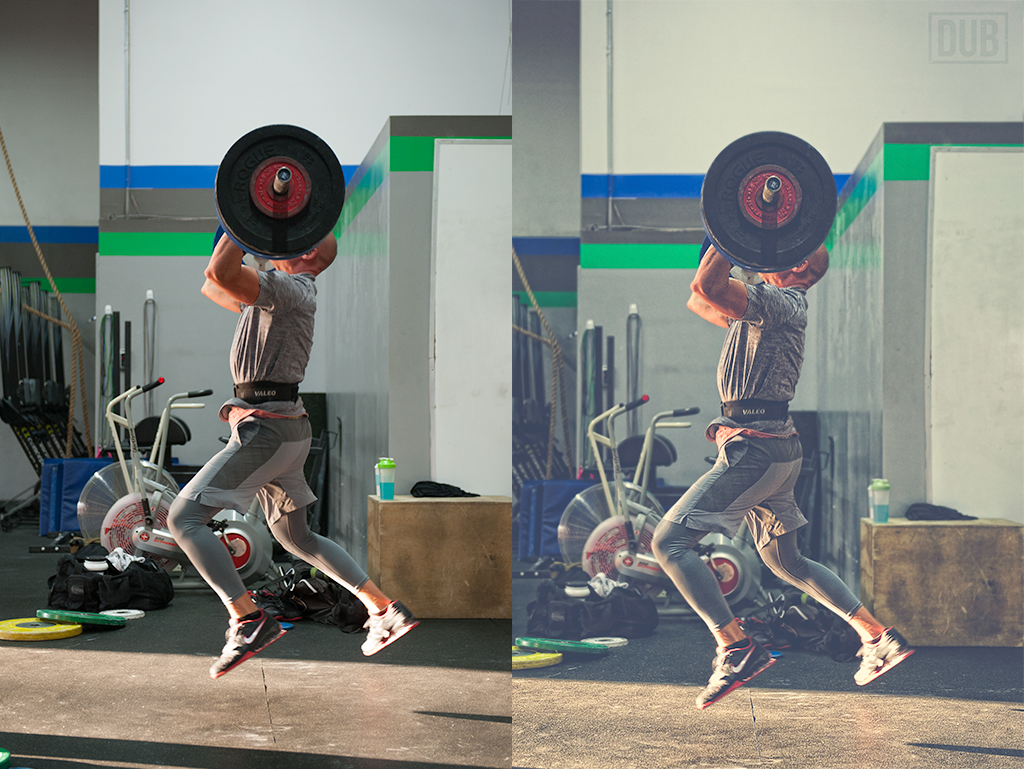
Here is a photo that I took of Matt, one of the coaches at CrossFit Bluegrass, during a Saturday morning lifting session back in 2015. The original photo SOOC (left) and a subtle edit done primarily in Lightroom (right).
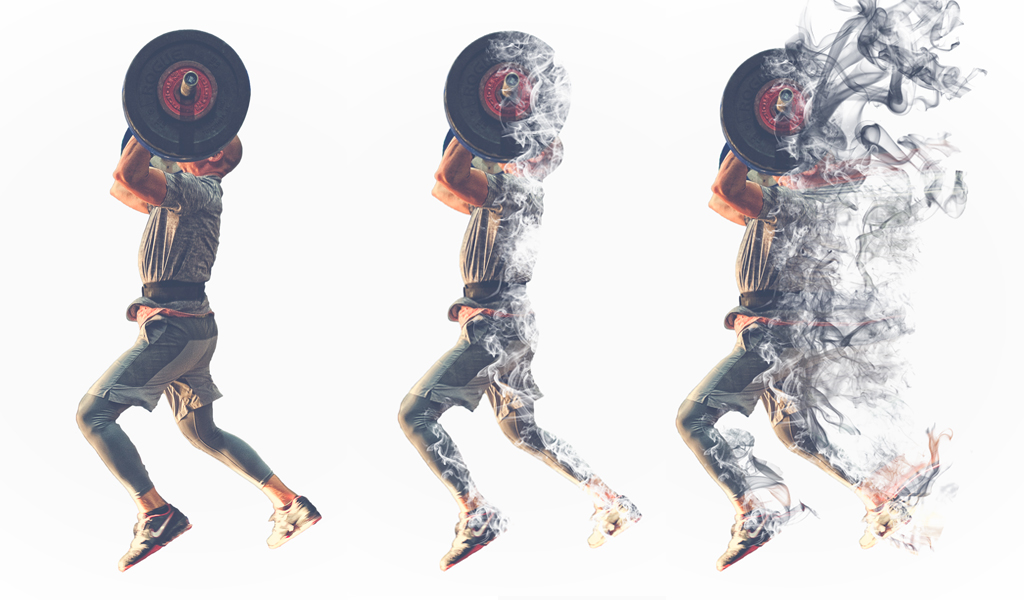
I did not want to make an exact copy of the image I had created previously, so instead of the dispersion effect, I applied a smoke effect. I wont bore you with every single step that I followed as there is no shortage of tutorials available online to do this. Here is one that I recommend if you want the play-by-play.
I first began with the main image and then extracted Matt out from the background. The main difference between the dispersion effect and smoke effect is the type of custom brushes used. Setting it up is the same. So, using the smoke brushes, I created the effects I wanted.
I did not want to bring in any of the original background from the photo. I wanted a much cleaner look and the background would have been too distracting. To draw some more attention to the center of the image, I applied a subtle color vignette, making the center white.
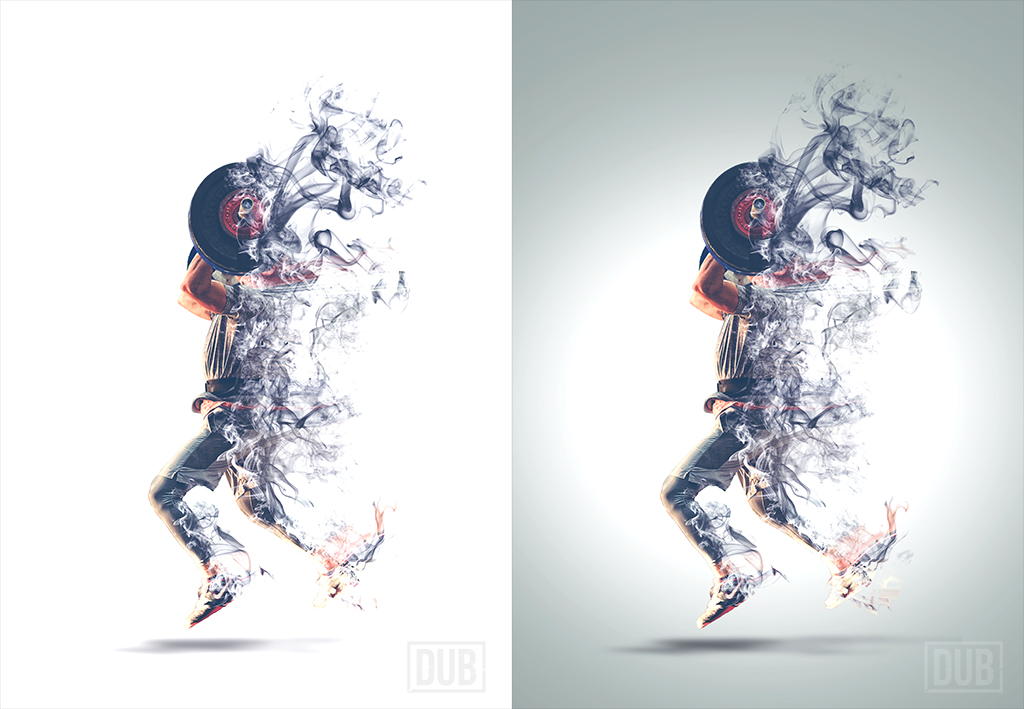
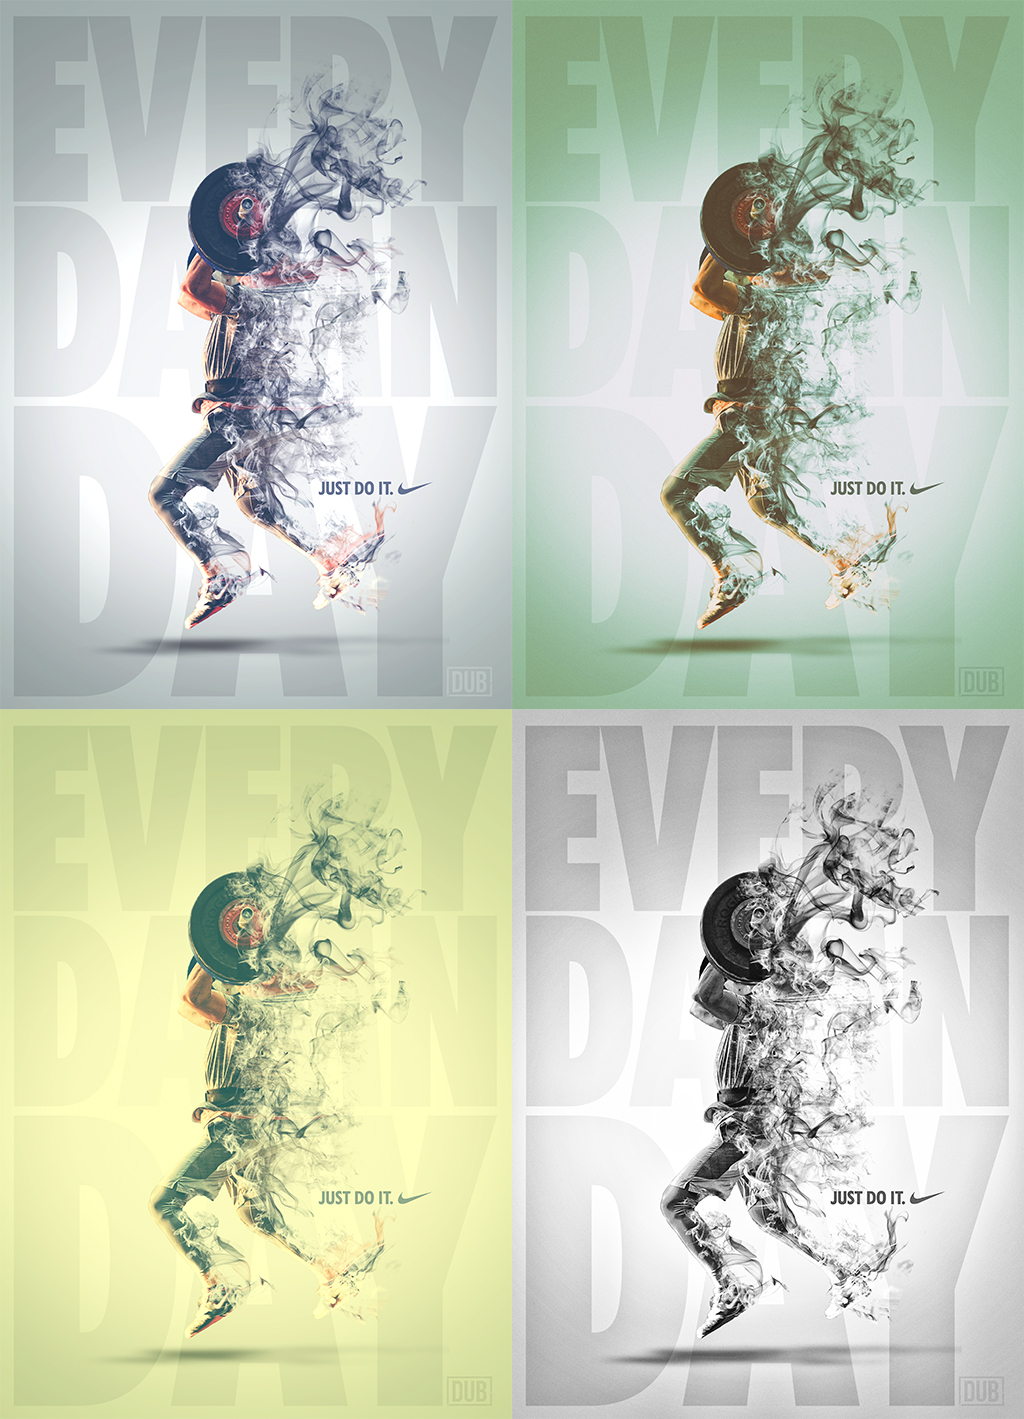
From here, the rest was just dropping in the copy and the Nike logo. I added the text behind Matt, screened it back, and then did a few other color variations.
