In an Instagram group chat recently, a fellow photographer shared with us what he believed was a trending idea, which was something called the twirl effect. He shared a screenshot and I followed along as it didn’t seem that difficult to do. Lately, I have been trucking through Adobe Premiere Pro tutorials whenever the time permits as I work to learn more and more about that program and video editing in general. Having used Photoshop as long as I have, it is exciting when I get a chance to do something that I have never done before.
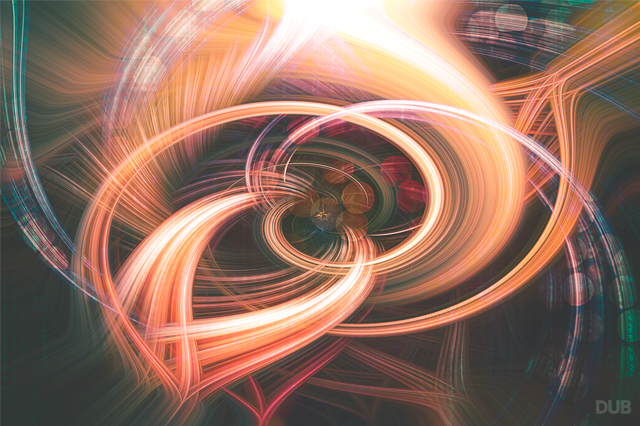
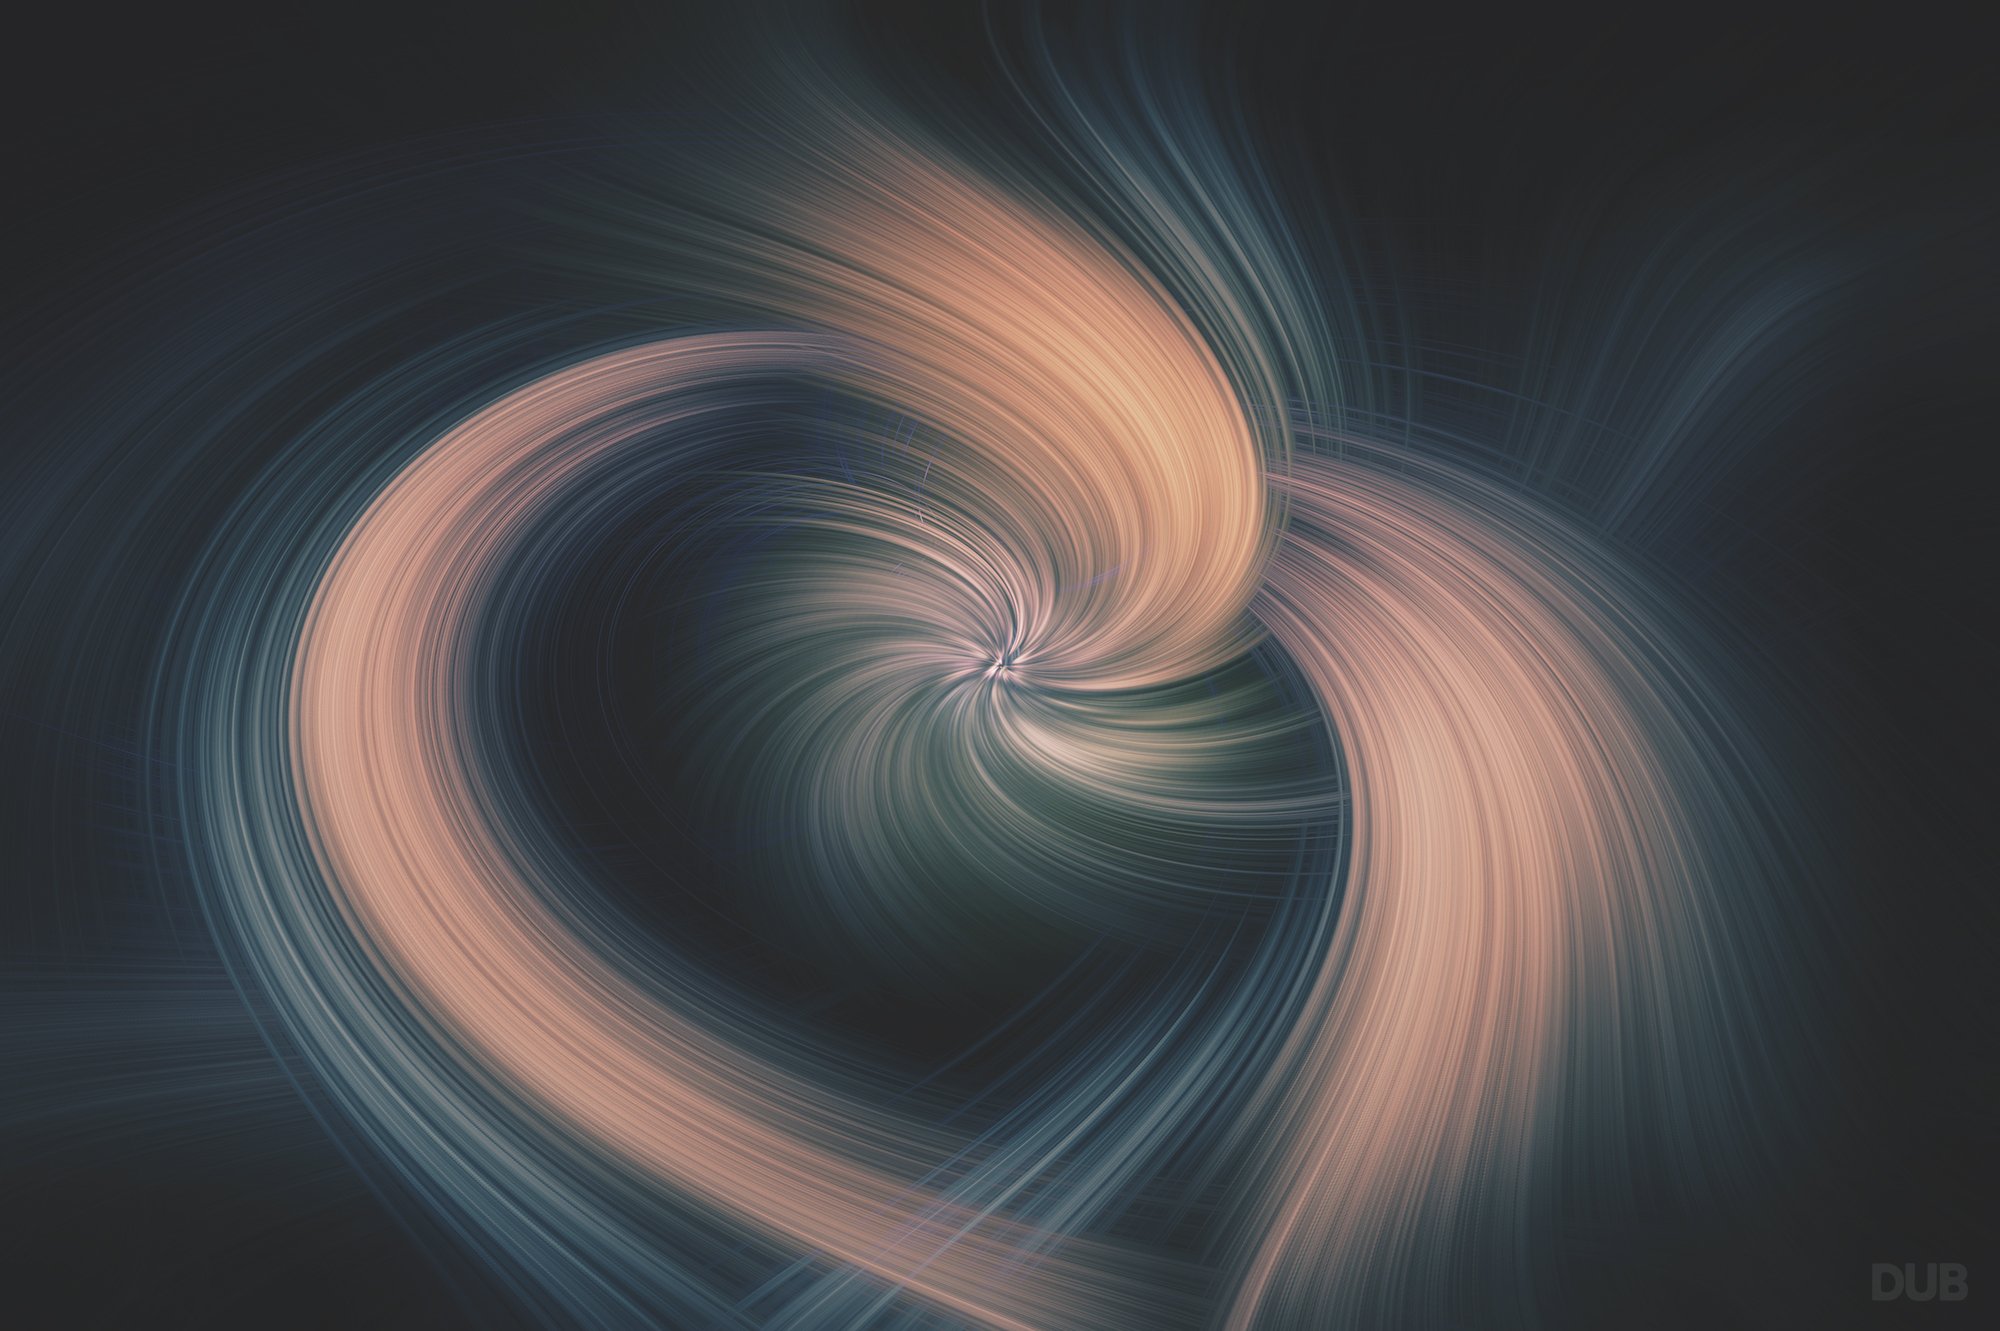
The “Twirl Effect” is actually pretty simple, yet it produces some fantastic results. Through a series of effects, it takes a regular photo and converts it to a high-energy abstract image. Here are some of the before and afters.
Before

After:

Before:

After:

Before:

After:

What I realized after making these, was that the basic steps were all the same. Essentially you create a smart layer and then apply a series of effects to each layer. Rather than have to manually do each of these steps over and over again, I just created an action.
DOWNLOAD TWIRL ACTION Once you download the action, save the .atn file to your computer and double click on it to install it into Photoshop. Click play to fire it up and give it a minute or so (depending on the speed of your machine). When it is done running, you will get a pop-up with some brief explanation on what to do next.
If you have been using Photoshop for any amount of time, you are probably quick to click on “Continue” and hop in to the layers to make changes to see what everything does.
In short, your photo was converted to a smart layer and then a series of filters were applied (Mezzotint, Radial Blur, and then Twirl). There are many ways to change the final look by double-clicking on each of the adjustments and making changes. For example, double click on Twirl and adjust the slider up or down. Changing the angle from -120 to 250 for example will mix the image up pretty good. I have also up-sized and rotated the middle and top layers to spread the design out a little more. I like the final version with the first radial blur turned off of the “Middle” and “Top” layers. In case you might dig that, I left them in. Double click on the “Mezzotint” filter and change the Type from “Long Strokes” to “Coarse Dots” for a slightly different look.
Once I have the layers and filter setup where I want them, I just exported the image and called it a day. However, it has also been fun to use these three base layers as the foundation for something new and to further modify it.
Here is an example of another image I created with a little more treatment than just the Twirl action.
Before:

After: 

One thought on “Twirl Effect Photoshop Action”