
A while back, 2009 to be exact, I had this great plan to do a self-portrait every week. And while I was doing that portrait, I would document it for the purposes of producing a book. Although I did not finish the project, I still produced some fun images and want to go back and share the behind the scenes and the final outcome.
First, standing in your yard with a shotgun is not necessarily something I would recommend. Use your own discretion.
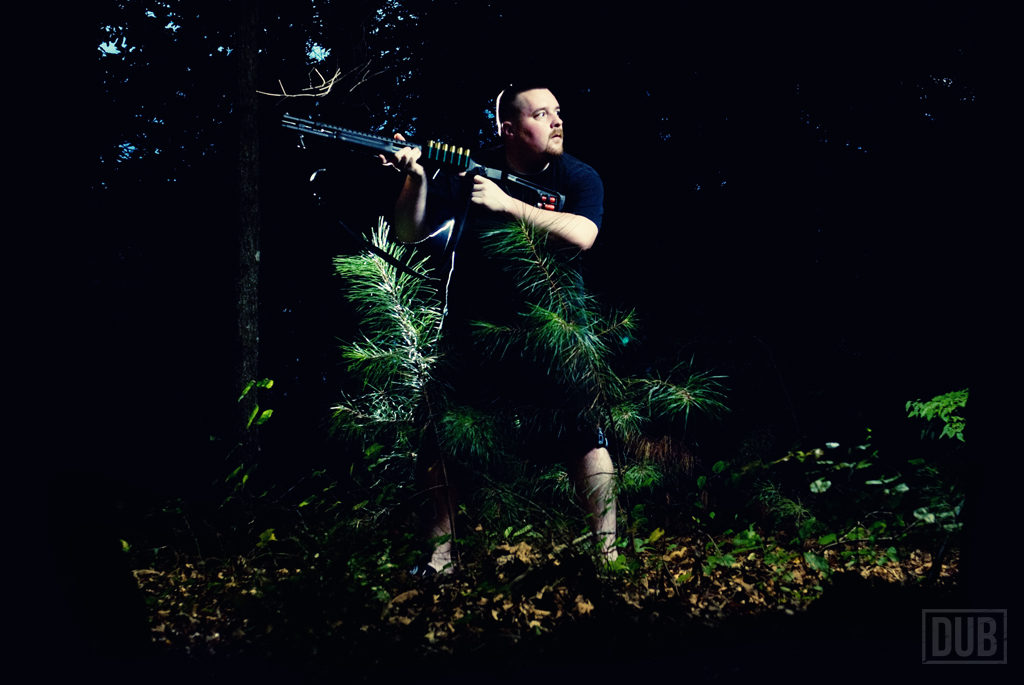
My goal for this was a darker atmosphere with minimal and focused lighting. At the time, I was fortunate that we had a small wooded area directly next to our house which not only afforded me the location I wanted, but also the privacy of standing around taking self-portraits while holding a shotgun.
I knew that I needed some type of directional light coming down on me and that directional light alone would not be enough. A back light behind me to help me stand out from the surroundings and make it a tad bit more dramatic would be better.
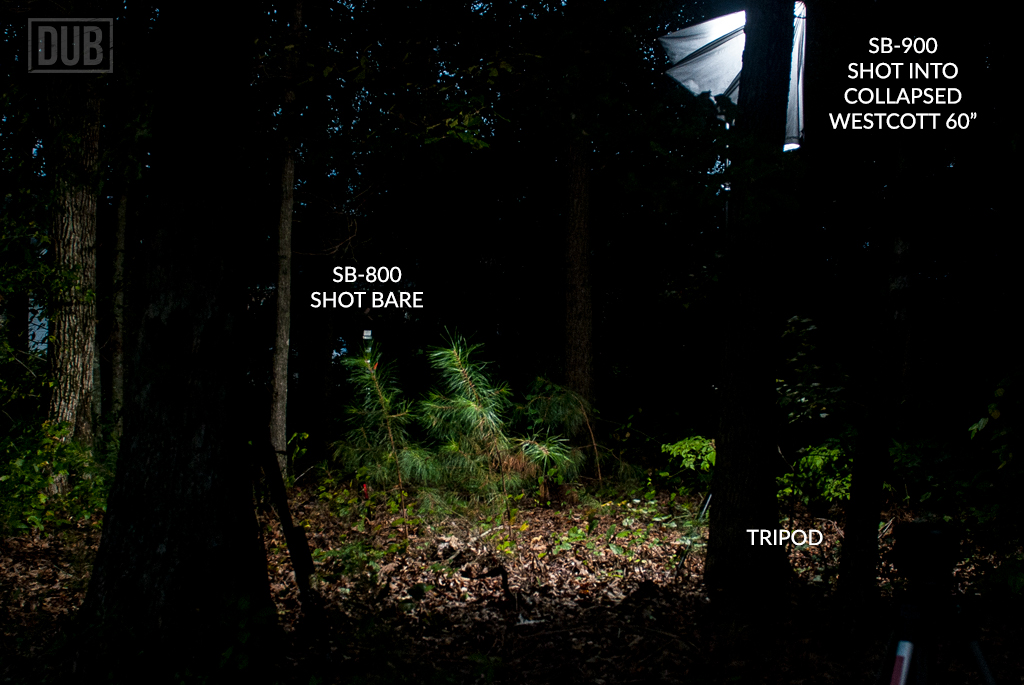
With the camera on a self-timer, tripod mounted, I setup an SB-900 camera right which was shot into a collapsed Westcott 60”. Behind me, I placed a bare SB-800.
The trick for me doing these shoots alone is getting everything in position and making sure the camera focuses on what I want it to focus on.

Here is an unedited outtake showing some of my mistakes. The flash behind me was directly behind me as I wanted and probably a little too powerful. It produced a pretty harsh outline, more so than I wanted. The light above me wasn’t too bad, but it lit up the ground too much. That and there was a small tree in the way. Some of this could be fixed within Photoshop, but I was too far off from what I wanted.
Once I figured out exactly where to stand (easier than adjusting all of the lights each time) I finally got the photo I wanted.
Within Photoshop, post-processing was relatively quick. I enhanced the blacks to make the image a little darker. The “forest floor” was a little too green for me, so I added a color adjustment layer to add some warmth to it. A little sharpening and I was done.
It is always fun to look back at older photos and compare how I processed them then compared to what I would do now. I am sure I would have taken a slightly different route had I done this image recently, but opted to leave it alone. For now.
